How to Do a Soil Analysis: A Step-by-Step Guide to Taking the Right Sample
Short answer: Samples for soil analysis are usually taken after harvest and before sowing and fertilizing, when the soil is neither too wet nor too dry. Walk the field in an "S" or "W" (zigzag) pattern and collect equal sub-samples from 15–20 different points with a soil auger or spade; for field crops the usual depth is 0–20/0–30 cm, while in fruit orchards, hazelnut and tea gardens an additional sample is taken from 30–60 cm. The sub-samples are mixed in a clean bucket, and about 1–1.5 kg of soil is labelled and sent to the laboratory.
Every lira spent on fertilizer either falls short or is wasted when it is applied without knowing what the soil actually needs. A soil analysis reveals the soil's pH, salinity, organic matter and plant nutrient levels. But a laboratory result is only as accurate as the sample sent: a sample taken from the wrong place or the wrong depth can steer the entire fertilizer programme in the wrong direction. In this guide we explain step by step how to take a sample and how to translate the results into your fertilization.
Why Is Soil Analysis Necessary?
Soil properties can differ within the same village, or even between the two ends of the same field. With a soil analysis you:
- Avoid unnecessary fertilizer costs; you stop applying nutrients that are already sufficient in the soil over and over again.
- Spot missing nutrients (e.g. phosphorus, potassium, zinc) in time and prevent yield loss.
- See any pH problem (excessive acidity or calcareousness) and choose fertilizers accordingly. For details, see our article Soil pH and Fertilizer Efficiency.
- Learn about salinity risk in advance and choose the right product, especially in greenhouses and irrigated farming.
- Reduce nutrient losses to the environment and groundwater.
Step 1: Choose the Right Time and Tools
When should samples be taken?
Samples are usually taken after harvest and before the next sowing or fertilization period, so that the results arrive in time for fertilizer planning. Points to watch:
- The soil should be neither muddy nor rock-hard dry; soil in workable condition is ideal.
- Do not sample immediately after fertilizing or liming; otherwise the results will be misleadingly high. It is generally recommended to wait a few months after the last fertilizer application.
- In perennial orchards (hazelnut, tea, fruit), sampling at the same time every year makes it easier to compare results across years. To align with the hazelnut fertilization schedule, see our article Hazelnut Fertilization Calendar.
Tools you need
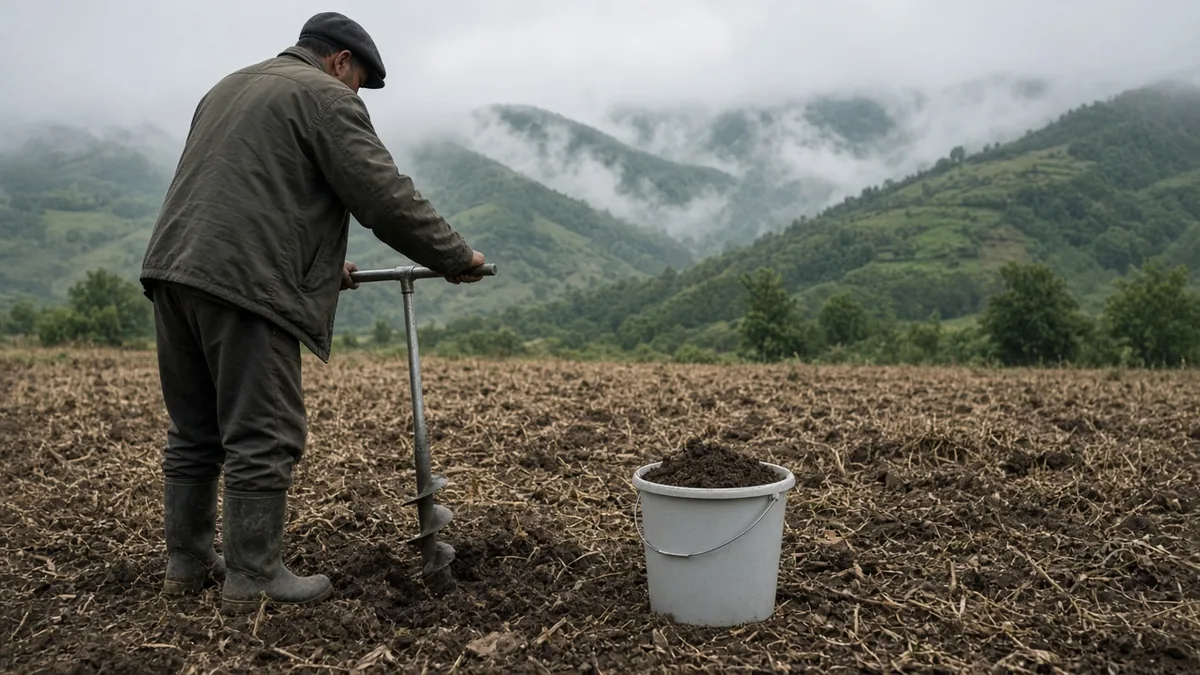
- A soil auger (the most practical and accurate method) or a clean shovel/spade
- A clean plastic bucket for mixing (a metal bucket can affect micronutrient analysis; do not use a bucket that has been used to carry fertilizer or lime)
- Clean plastic sample bags, labels and a pen
Step 2: Choose Points That Represent the Field
Soil taken from a single point does not represent the whole field. Therefore:
- First divide the field into similar sections. Areas that differ in slope, colour, texture (sandy/clayey), previous crop or irrigation should be treated as separate samples.
- Walk each section in a zigzag "S" or "W" pattern and collect, as a rule, 15–20 sub-samples from different parts of the field.
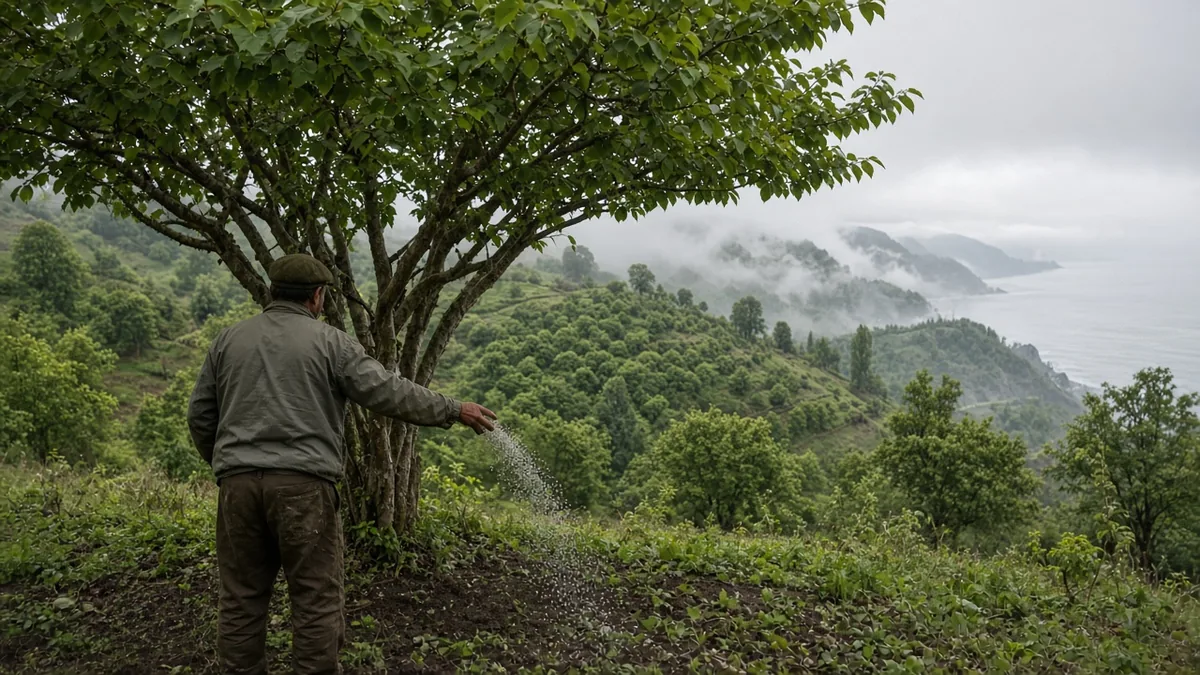
- In orchards, take samples not from the base of the trunk but from the canopy drip line, where fertilizer is applied and roots are concentrated.
- In drip-irrigated areas, the spot directly under the emitter and the area between rows can give different results; it is more accurate to sample within the wetted zone (the root zone).
Step 3: Take the Sample from the Right Depth
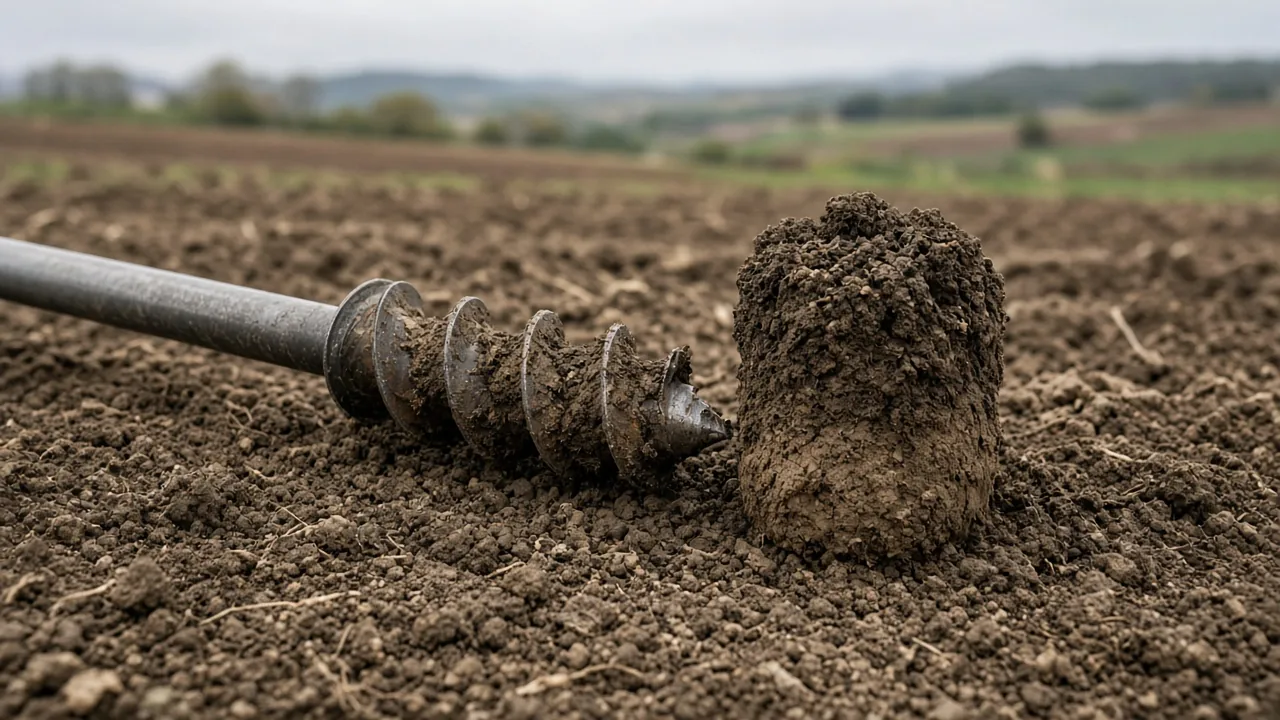
- Clear the surface: Gently remove weeds, stones and plant residues at the sampling point.
- Dig a "V"-shaped hole: If you are using a spade, dig a "V"-shaped hole about 20–30 cm deep for field crops and vegetables.
- Take a slice: Cut a slice of soil about 3–4 cm thick from top to bottom along the straight side wall of the hole. If you are using an auger, drive it to the required depth and take the soil.
- Take care to collect the same depth and roughly the same amount of soil for each sub-sample.
Recommended sampling depth by crop
| Crop group | Recommended depth | Note |
|---|---|---|
| Cereals, maize, sunflower | 0–20 or 0–30 cm | Based on tillage depth |
| Vegetables and greenhouses | 0–20 cm | Always request salinity (EC) for greenhouse soils |
| Hazelnut, tea, fruit orchards | 0–30 cm and 30–60 cm | 60–90 cm if needed for deep-rooted trees |
| Vineyards (grapes) | 0–30 cm and 30–60 cm | Lime status is important |
| Meadows and pastures | 0–10 or 0–15 cm | Roots are concentrated near the surface |
Samples taken from different depths should be placed in separate bags and not mixed.
Step 4: Mix, Label and Send
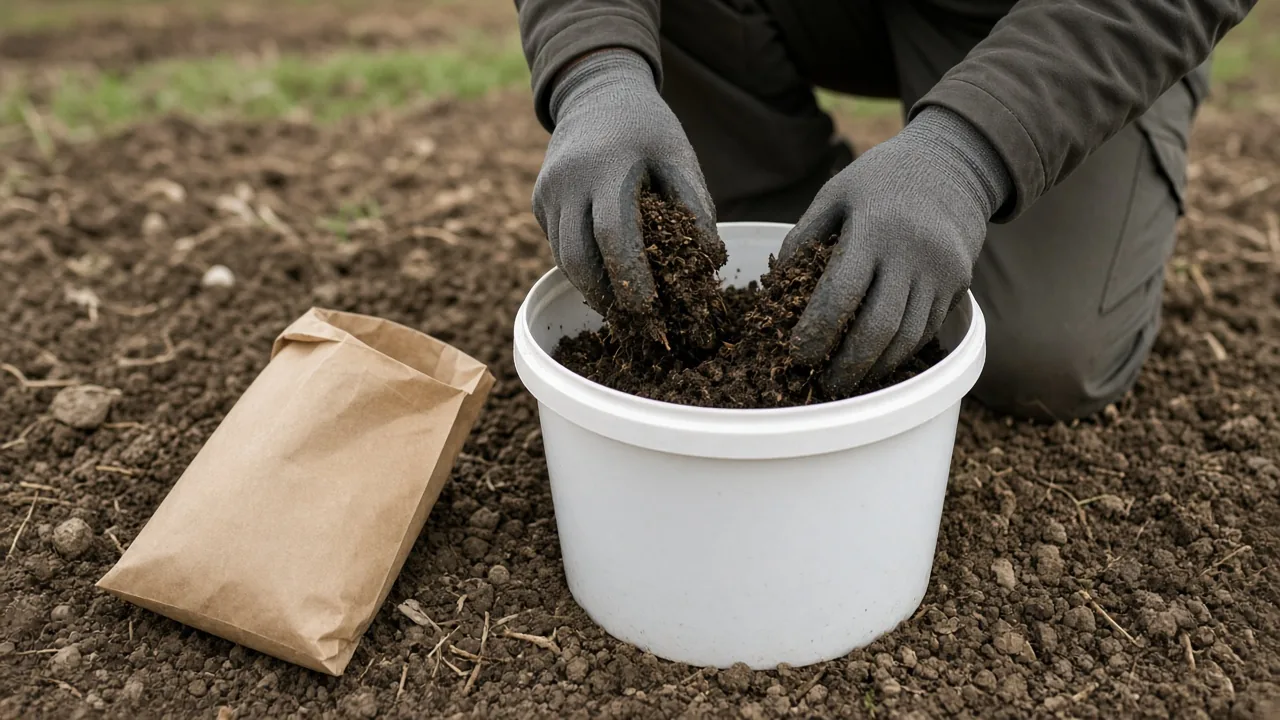
- Mix thoroughly the sub-samples from the same section and the same depth in the plastic bucket, and remove stones and root fragments.
- Put about 1–1.5 kg of the mixture into a clean bag.
- Write on the bag your name, location/plot, depth, date and the crop to be grown next season. Crop information is important so that the laboratory and your adviser can make recommendations.
- Get the sample to the laboratory without delay; if it has to wait, keep it in a cool, shaded place, and do not dry it in the sun or next to a stove.
Where Not to Take Samples
The following spots do not represent the field as a whole and distort the results:
- Places where fertilizer or lime has been piled
- Spots close to manure heaps
- Under isolated trees, along hedges and roadsides, and at field boundaries
- Hollows where water collects, old fire or burning sites, and spots that look nothing like the rest of the field
What Does the Laboratory Measure?
A standard soil fertility analysis usually reports the following values:
| Analysis | What it tells you |
|---|---|
| pH | The soil's acidity/alkalinity; the availability of nutrients |
| Salinity (EC) | Risk of salt stress; especially important in greenhouses and irrigated farming |
| Lime (CaCO3) | Phosphorus and micronutrient uptake on calcareous soils |
| Organic matter | Soil structure, water and nutrient holding capacity |
| Texture (sand-clay-silt) | Water holding, leaching risk, need to split fertilizer applications |
| Phosphorus, potassium | Directly determines the choice of basal fertilizer |
| Ca, Mg and micronutrients (Fe, Zn, Mn, Cu, B) | Detection of hidden deficiencies |
How to Translate the Results into Fertilization
On its own, the analysis report does not answer the question "how many kilos from which bag"; the report is interpreted together with the crop and the expected yield. The general approach is:
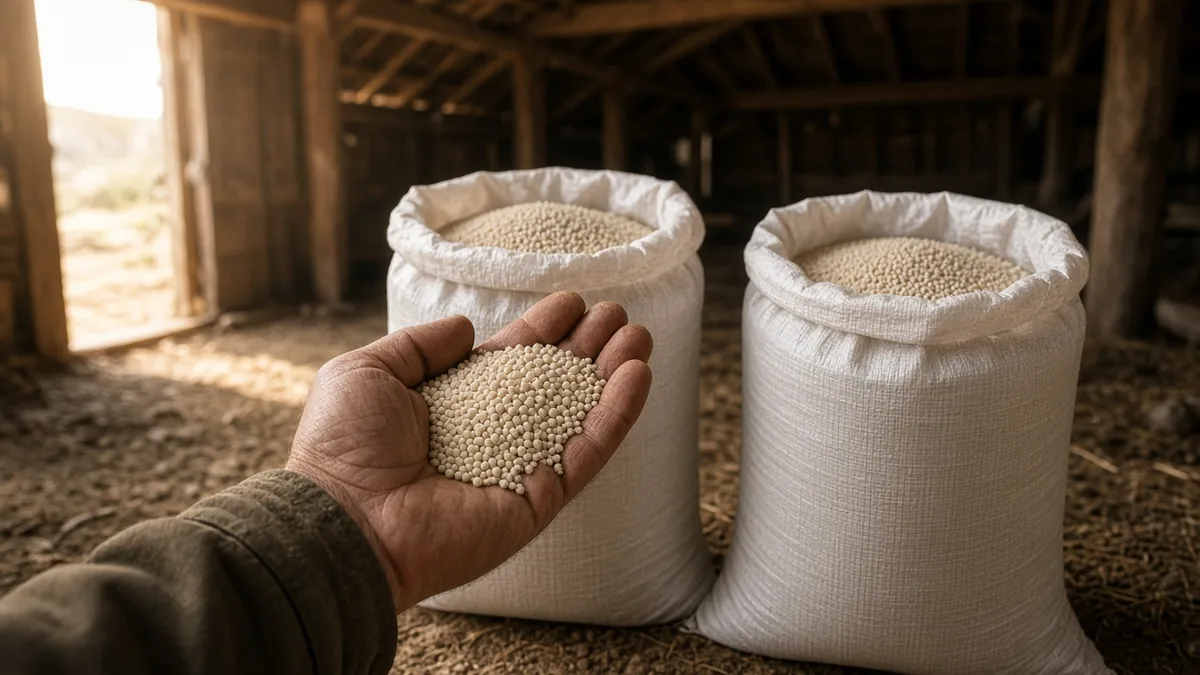
- If phosphorus is low: Phosphorus-rich fertilizers come to the fore at sowing or, in orchards, at the start of the season. For example, DAP 18-46-0 (general rate range on the product page: 15–25 kg/da) or NPK 12-25-12+(15SO3)+ME.
- If phosphorus and potassium are needed in balance: Balanced compound fertilizers such as NPK 15-15-15+(20SO3)+ME can be considered.
- If potassium is low: The potassium source is chosen according to the crop's chloride sensitivity; details in our article Potassium Chloride or Potassium Sulphate?.
- If organic matter is low: Alongside organic sources such as farmyard manure, soil conditioners such as Humic Acid can complete the programme (general rate range on the product page: 2–4 kg/da).
- If pH is extremely low or high: Fertilizer choice and, if necessary, liming are planned accordingly. Special cases for tea gardens are covered in our Tea Garden Fertilization Guide.
To turn the recommendation in the report into the product in the bag, you can use the rate calculation examples in our article How to Read a Fertilizer Label.
How Often Should Soil Be Analysed?
- Field crops and orchards: Generally every 2–3 years.
- Greenhouses and intensive vegetable production: Every year or before each main crop, because of the risk of salt build-up.
- Newly leased or purchased land, new orchard establishment: Always before planting/sowing.
- When symptoms such as an unexplained drop in yield or changes in leaf colour appear, together with leaf analysis if needed.
Conclusion
Soil analysis is not an expensive outlay; it is the cheapest way to manage your fertilizer budget properly. A well-labelled sample, taken at the right time, from points that represent the field and from the right depth, shows you which nutrients are missing and which are sufficient. We recommend evaluating the results with an agronomist who knows your region and building your fertilizer programme accordingly.
Do you have your analysis results? Send your report to the AKFE Gübre team and we will prepare a quote for the products and quantities that suit your field or orchard. Delivery to all 81 provinces of Turkey — contact: +90 462 325 05 41 / +90 531 474 78 85, satis@akfe.com.tr.
Frequently Asked Questions
When should soil samples be taken for analysis?
Samples are usually taken after harvest and before the next sowing or fertilization. The soil should be neither muddy nor excessively dry, and samples should not be taken immediately after fertilizing or liming.
How deep should a soil sample be taken?
For field crops it is usually taken from 0–20 or 0–30 cm, and for vegetables and greenhouses from 0–20 cm. For hazelnut, tea, fruit and vineyards, a separate additional sample from 30–60 cm is recommended.
From how many points in a field should samples be taken?
From each section with similar characteristics, sub-samples are generally collected from 15–20 points in a zigzag pattern. These are mixed, and a single sample of about 1–1.5 kg is sent to the laboratory.
How often should soil analysis be done?
For fields and orchards it is generally recommended every 2–3 years. In greenhouses and intensive vegetable production, doing it every year is better because of the risk of salt build-up.
Where should soil samples be taken in a hazelnut orchard?
Not from the base of the trunk, but from the canopy drip line around the clumps, where fertilizer is applied and roots are concentrated. The 0–30 cm and 30–60 cm depths are put into separate bags.
Which values are checked in a soil analysis?
pH, salinity (EC), lime, organic matter, texture, phosphorus and potassium are usually reported. On request, calcium, magnesium and micronutrients such as iron, zinc, manganese, copper and boron are also analysed.